| Table of contents | Previous page | Next page |
For exporting events and todos into CSV format, select "File / Export / CSV..." from the menu. The CSV format (Comma Separated Values) is a very simple database format, where the entries are separated by a comma and stored as plain text. This format is understood by many database and spreadsheet programs, e.g. by Excel. With this format, you can prepare your events and todos for use with external applications.
The CSV export is derived from the calendar view and not the database view available from the menu under "Extras / Event List...". Therefore, the CSV export is primarily intended for creating calendar views with external programs.

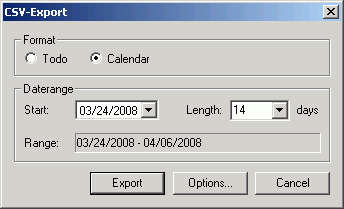
Figure 3.15.1: CSV export
In section "Format" you can decide whether to export todos or events. The default depends on your currently selected view in the program.
Under "Daterange" you can select the start date and the number of days to export. The corresponding date range is shown directly below.
You can now generate the CSV file by pressing the "Export" button. You can also choose to first take a look at the available options for customizing the CSV export by pressing the button "Options...". This dialog is also available from the menu under "Extras / Export Settings / CSV...".
The options for todos and events are identical, so only the options for exporting events will be discussed here.
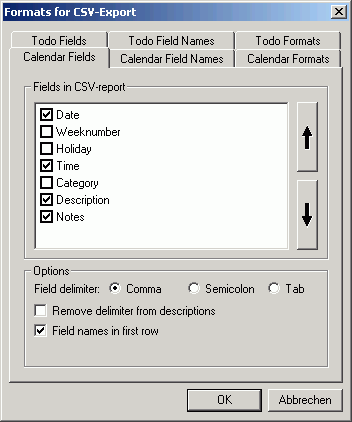
Here you can select the fields for CSV export and also their order. You can also choose a different separator for the data entries.

Figure 3.15.2: Tab "Calendar Fields"
In the window of section "Fields in CSV report" you can select which event information should appear in the CSV report. Click the box preceeding the desired entry to include it in the output. You can also change the order of the entries. For this, select an entry and move it up or down with the arrows on the right.
Under "Options" you can choose a different separator for the data fields. You can choose between commas, semicola and tabs. Sometimes it makes sense to use a different separator, especially if you use commas in your event descriptions or notes and if the application you want to export to can interpret different separators. If you still encounter problems while importing the CSV file, you can tell "UK's Kalender" to replace all characters from your descriptions and notes that will collide with the chosen separator. Be aware that this might have unwanted side effects, especially if the comma is used as decimal separator in your country.
As further option, you can choose to put the field names into the first row of the CSV file, just like a headline for the corresponding column.
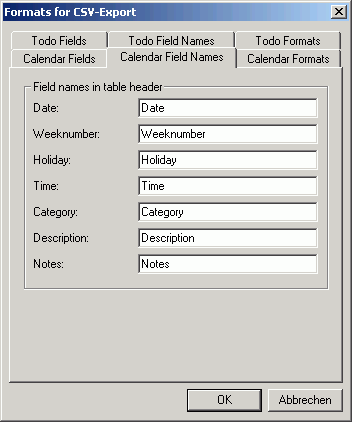
If you want to change the default names for the fields, you can do this here. The display on tab "Calendar Fields" is not affected by your settings, though.

Figure 3.15.3: Tab "Calendar Field Names"
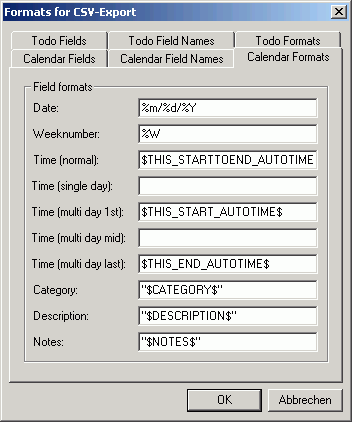
You can largely determine what to put into the data fields. All formatting options described in chapter 3.12 are available. Only the date and the weeknumber display have just the limited formatting options described in chapter 3.12.1.

Figure 3.15.4: Tab "Calendar Formats"
All other fields may be configured the way you want. Sometimes it might be useful to remove the quotation marks around the field "Category", "Description" and "Notes", e.g. in case your spreadsheet application doesn't require them to automatically detect text fields.
The dialogues here are functionally identical to the ones for the calendar export. So please refer to the descriptions above (chapter 3.15.1).
| Table of contents | Previous page | Next page |